Wednesday, March 15, 2017

Lambs!!

Yes, you read that correctly! We have Lambs! Why? For no reason at all. Maybe we are crazy?

We waited  a little while to post or blog about them because we wanted to make sure they were going to survive a few weeks first.  So many resources warned us that there was great potential that our lambs would not survive, so we held off on posting about them.

Since we moved to our little piece of land with enough grazing room, we have thought about having some kind of grazing animal. Hubby talked about getting goats, but as we have researched it and prayed about it over the last year or so, goats don't seem like a very good fit for our family. From what I understand they eat everything, and lets be honest, I don't always make the kids put all their yard toys away.

A friend of ours posted about finding a home for a couple bummer lambs and it seemed like they were a better alternative!

Of course, as I always do, I have wasted hours researching how to care for them. Understanding that lambs are fragile, we have taken our responsibility to care for them very seriously. We started out feeding them every 4 hours, then every 6 hours then every 8 hours and now we are working toward larger portions every 12 hours. We have had very few issues and things have run very smoothly so far.

All of that said, we have had them for long enough to put their cute little furry butts outside! As you can imagine, they LOVE being outside!


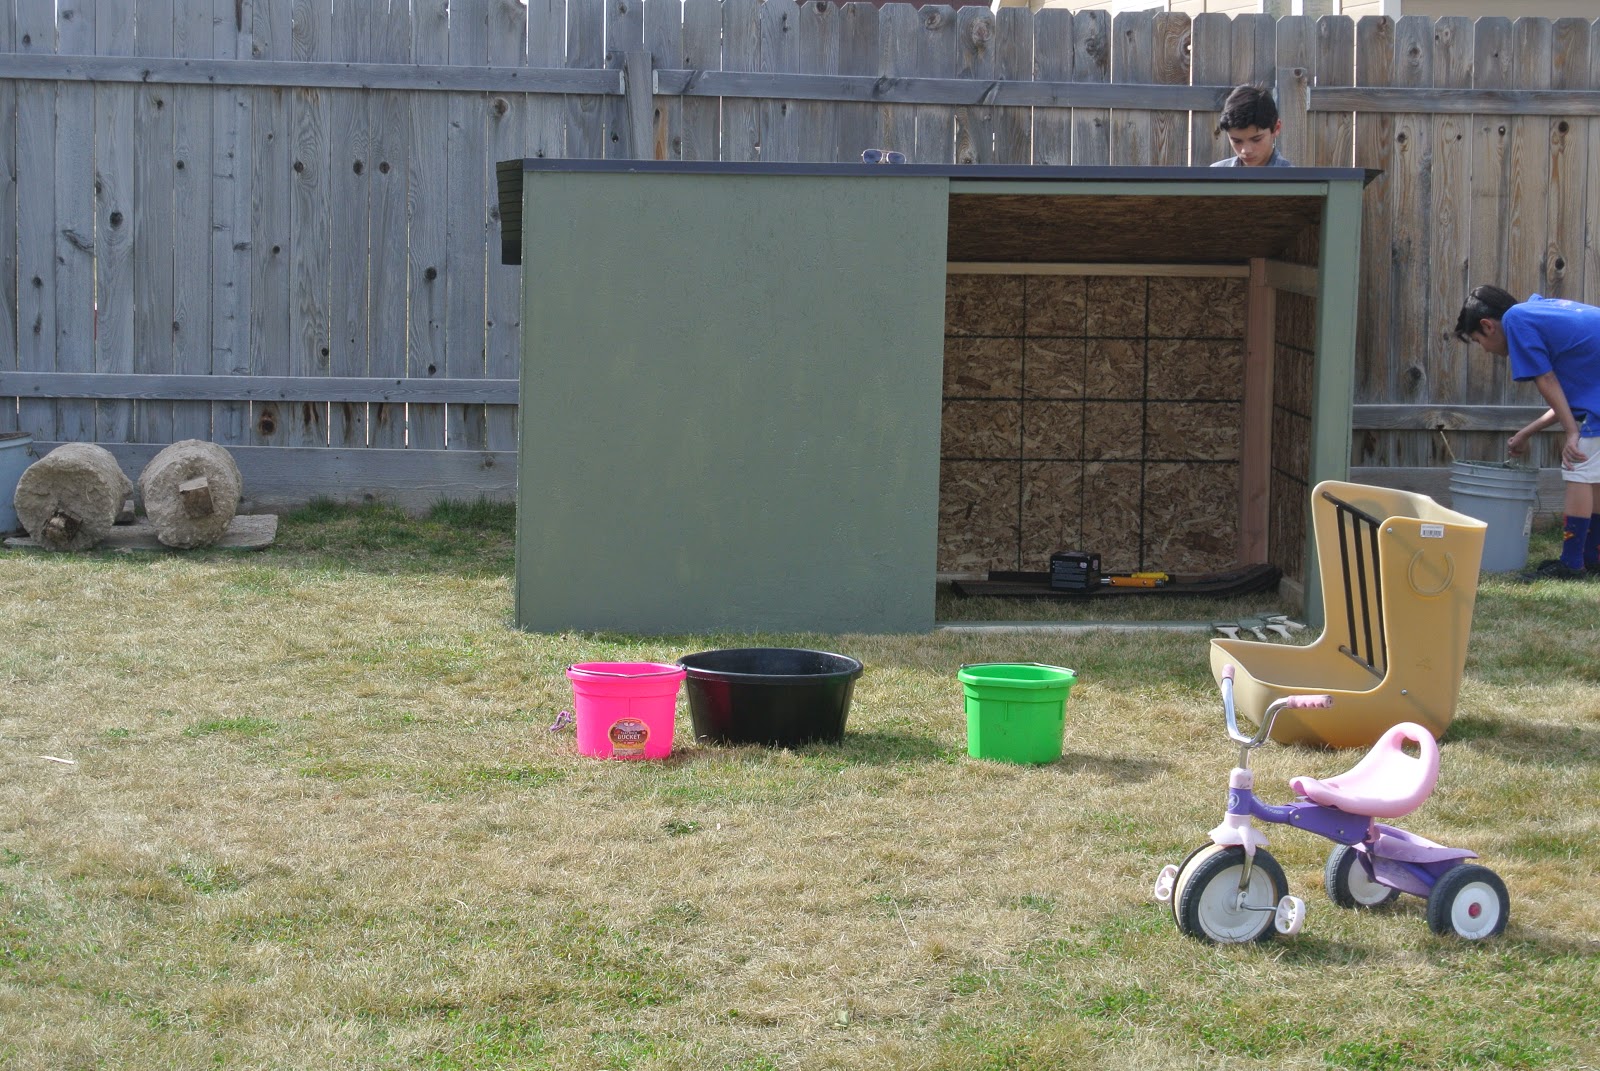
Since we never do anything half way, our family spent the day Sunday building the cutest little "Sheep Shed" for out little lambs! Of course, it's darling and we couldn't be more thrilled! What a fun family experience.

We turned all of this random wood, into a fun, adorable family project! 

We were brave and actually drew out what we wanted and made our own little plans. We have never actually built something like this from scratch, so we were pretty cautious! 

Boy did we learn a thing or two!

We made a list of every cut and took our time measuring and cutting every piece before we got started. After we had each piece cut and ready, we started to assemble the sheep shed.


Everyone needs a pic of a baby with a popsicle... 


All the cool kids have tool belts...
The littles made balance beams while power tools were used! 

After the frame was assembled, we moved it over to where we plan to keep it. One lesson we have learned well over the years is; if you build a heavy project, build it where it stays, or you will have a heavy immovable object in the wrong place.

Coolest stapler ever..


They are very excited about their new house... I just know it.


Painting with 6 kids is not the best idea... They had fun though :)

Almost done!

First night outside!


All done!!

Friday, January 20, 2017

My Sweet Abby is 7...

Tonight, I kissed my 6 year old princess good night, for the last time! Tomorrow morning I will kiss my brand new 7 year old princess. I feel crazy every time one of my kiddos has a birthday. I am so excited to see how they will learn and change this next year, but I am so sad that they have to grow and change.

Abby has always been my most unique kiddo. There was more than an entire year of her life when she would not answer to any name other than Minnie Mouse. It wasn't worth it to convince her that she was being crazy, and yes, she was old enough to know better. She finds something that she loves and gives her whole heart and soul to it. She is so special.

For Abby's birthday this year she chose to take the whole family bowling and then out to dinner. She didn't want a party, just family time. I will admit, I am pretty excited that she chose us. She didn't ask if a friend could come, she didn't ask for a present, just time with us. I am so proud to be her mommy.

As a surprise, I switched snack days for basket ball so that I could bring cupcakes for her team. When I told her this evening how lucky she was that her actual birthday landed on her basketball day, she was thrilled!

Of course her request was pink cupcakes with pink frosting. How could I say no to that? Who am I kidding? I would NEVER say no to that!

Our evening was spent whipping up some pink vanilla cupcakes with  pink buttercream frosting, while Abby watched my every move and danced around with delight. Before I could frost them for her it was bed time, and I explained that she will have to wait until morning to see them. She was a little disappointed until I snuck into her room with a little piece of frosted cake for her.

I only wish that I could bottle up her brand of crazy because it is amazing. I hope that she never changes.

Monday, January 9, 2017

Cinnamon Roll Pancakes

Yesterday I made a mistake. I mentioned, in front of the kids, my desire to make cinnamon rolls.

When the kids got up this morning they fully expected that there would be pans of fresh cinnamon rolls ready for them. I felt bad... really bad...

To make up for my mistake I decided to make Cinnamon Roll Pancakes!!

I used a simple pancake recipe that I have used for years, its very basic, no frills, just flour, milk, baking powder etc... I dressed it up by adding a little extra sugar and a ton of cinnamon. Enough cinnamon to change the color of the batter (I added two heaping tablespoons of cinnamon, which was perfect for the volume it takes to make enough pancakes for 6 kiddos).

I decided to make silver dollar sized pancakes or as the kids say,"dippy" sized, because they are cute (the kids and the pancakes). I use my handy dandy cookie scoop for nearly everything, no sense in stopping now! 
Now all of the pancakes will be uniform in size, and cook time. I am still a rookie at cooking on the cast-iron insert on my stove, so uniformity pleases my perfectionism and my inexperience. (Confession: I burned the first batch, don't tell anyone.)


The part that makes these "Cinnamon Roll Pancakes" isn't only the cinnamon, it's the frosting. Yes, I said FROSTING. I used the same maple flavored frosting recipe that I use in my favorite super old cinnamon roll recipe from Pioneer Woman (Pioneer Woman Cinnamon Rolls).  I wanted to make the frosting taste the same but thinner and more syrup like. To make the perfect pancake frosting I, doubled the butter, used salted butter, and omitted the salt. The frosting texture was perfect for pouring, but the kiddos really wanted to dip!

So each of the kiddos got their own ramekin of frosting to dip to their hearts content. 


After breakfast, I got the seal of approval from the kiddos that these are a "make again," but I was not forgiven for the lack of actual cinnamon rolls, and those are expected at some point this week. That's what I get for thinking I was off the hook! 

Monday, June 6, 2016

Making Do...


What is making do?


If you google "making do," the Internet will tell you it means "to manage with the limited or inadequate means available"... 

What does making do mean to us? 

Making do: means finally talking about your financial struggle to our friends... 

Making do: means it feels better when you say it out loud...

Making do: means that the generous and amazing people in your life will come through for you... 

Making do: means making it because people prayed for you... 

Making do: means knowing, even when you are unsure,  He will provide...

Because of my faithful and loving friends, through this financial transition, we have been able to eat, pay bills and plant our garden! 


Making do: means we have it all!

Making do: means we are so very blessed...

Making do: means a picnic, in the back yard... 

Making do: means flowers in muddy water from an underwear clad toddler... 


I will continue to look forward to challenges in the future, because we can make do...

A dear friend shared the following scripture with me, at the perfect moment... I could not possibly be more thankful for her... 

"Do not be anxious about anything, but in every situation, by prayer and petition, with thanksgiving, present your requests to God. And the peace of God, which transcends all understanding, will guard your hearts and your minds in Christ Jesus." Philippians 4:6-7
We are so utterly thankful, so incredibly blessed and undeniably humbled by this experience... Our hope is that those who are in our corner, know how much we love and appreciate them! 

Sunday, April 10, 2016

Super Cute Crate Buffett


I have been planning and dreaming about making something amazing out of my little, old, junky crates for years! I imagined a darling buffet in my kitchen! I have used them to store things and even prop things up all this time. 
One Sunday after church, the girls and I set off on an expedition to collect all of my random crates!

To create my buffet, I gathered some two inch screws (Similar to these), some stain (Minwax Red Mahogany) that matched my table and some white spray paint (Love this brand) that I had on hand that almost matched my table. The only thing I had to go look for was the wood I planned to use for the top. I purchased two 1x6x6  nice quality boards at Lowes to act as the counter top for my buffet.

All of the crates are slightly different sizes and are all made out of different kinds of wood. I had to rearrange them and set them up several times to make an almost level platform for my 1x 6's.

There were spaces that needed to be filled to make the top level, so I had to break one of the extra crates a part and stick the pieces in the spaces. Once I had all of the crates placed exactly how I wanted them, I started to screw it all together.

I was a little over zealous on the first one... I was excited, what can I say? The wood split and I am pretty sure I might have shed a tear.

After this moment of horror, I simply started screwing the screws in on the second slat in from the front, and last slat, so they cannot be seen as easily from the front, just incase they split again. You live and you learn right?

After I fastened all of the crates together, I painted the entire structure. As I swept the paint over the crates I realized that they were going to absorb the paint like a sponge. In my vision of this project I imagined a thickly painted heirloom white piece of furniture with a satin finish. I used the who full cans of spray paint that I had in no time. I was exceptionally disappointed in the fact that it looked a little beachy and almost shabby chic.

I made a decision to press on and complete this project, so I fastened the top boards to the structure and made sure the whole thing was still level. Then I stained the wood pieces to match my table as planned.

After the paint and stain was dry and placed in my dining room to took my breath away! It was actually perfect!

The subtle colors of the wood coming through the paint and the texture was truly beautiful. It matched my style exactly. My husband actually fell in love with it right away and said it is new favorite piece of furniture!


Saturday, March 19, 2016

Getting Organized, Baby and Backyard!!

We are still no more organized than when we moved in, our sixth child, EllieMay, is 5 weeks old today and the backyard is coming along surprisingly well! Homeschooling is starting to pick back up again, after an embarrassingly long break, feel free to judge me... And I couldn't stand to go another day without a blog post!

Moving from a huge house to a home about half the size has really put a cramp in my pack rat style.

Aside from having an overabundance of things I genuinely do not need, I don't have the time nor desire to clean, purge and organize it these days! I kept telling myself, "after the baby comes you will have the energy..." We all know that was a lie.

Now baby is here, she is a bundle of sweetness wrapped in sleepless nights and baby poop. I couldn't be happier with her, except for the fact that she is too cute not to hold, and you cannot get anything done while holding a sleeping newborn! Also, the kids all adore her... Which is hard, because she is mine and I don't want to share... But that is a whole other issue!

Needless to say, we are inching along slowly on all of our goals... My honey and his father put up the fence for my garden area, we will very likely build our garden boxes in the next week, then work on the chicken coop. We have 5 baby chicks already! More on that later.

The kids are seriously in love with our huge yard, and are taking full advantage! I love seeing them get creative and building the clubhouse of their dreams!!

The garage is still an example of complete insanity. No, I will not post a pic! I have the desire to want to organize and clean out there... Neither desire nor want are strong enough to motivate me... I decided today that I will do my best to follow the 15 in 15 Home Organizing Plan (Link To Organizing Plan), and apply it to the garage. In theory, it should be helpful to follow some kind of plan... I make no promises...